
Chicago Toy Soldier Show Photos 2017 Mike Mullins Mike has sent us photos which are mostly of metal displays. Still they are very interesting.


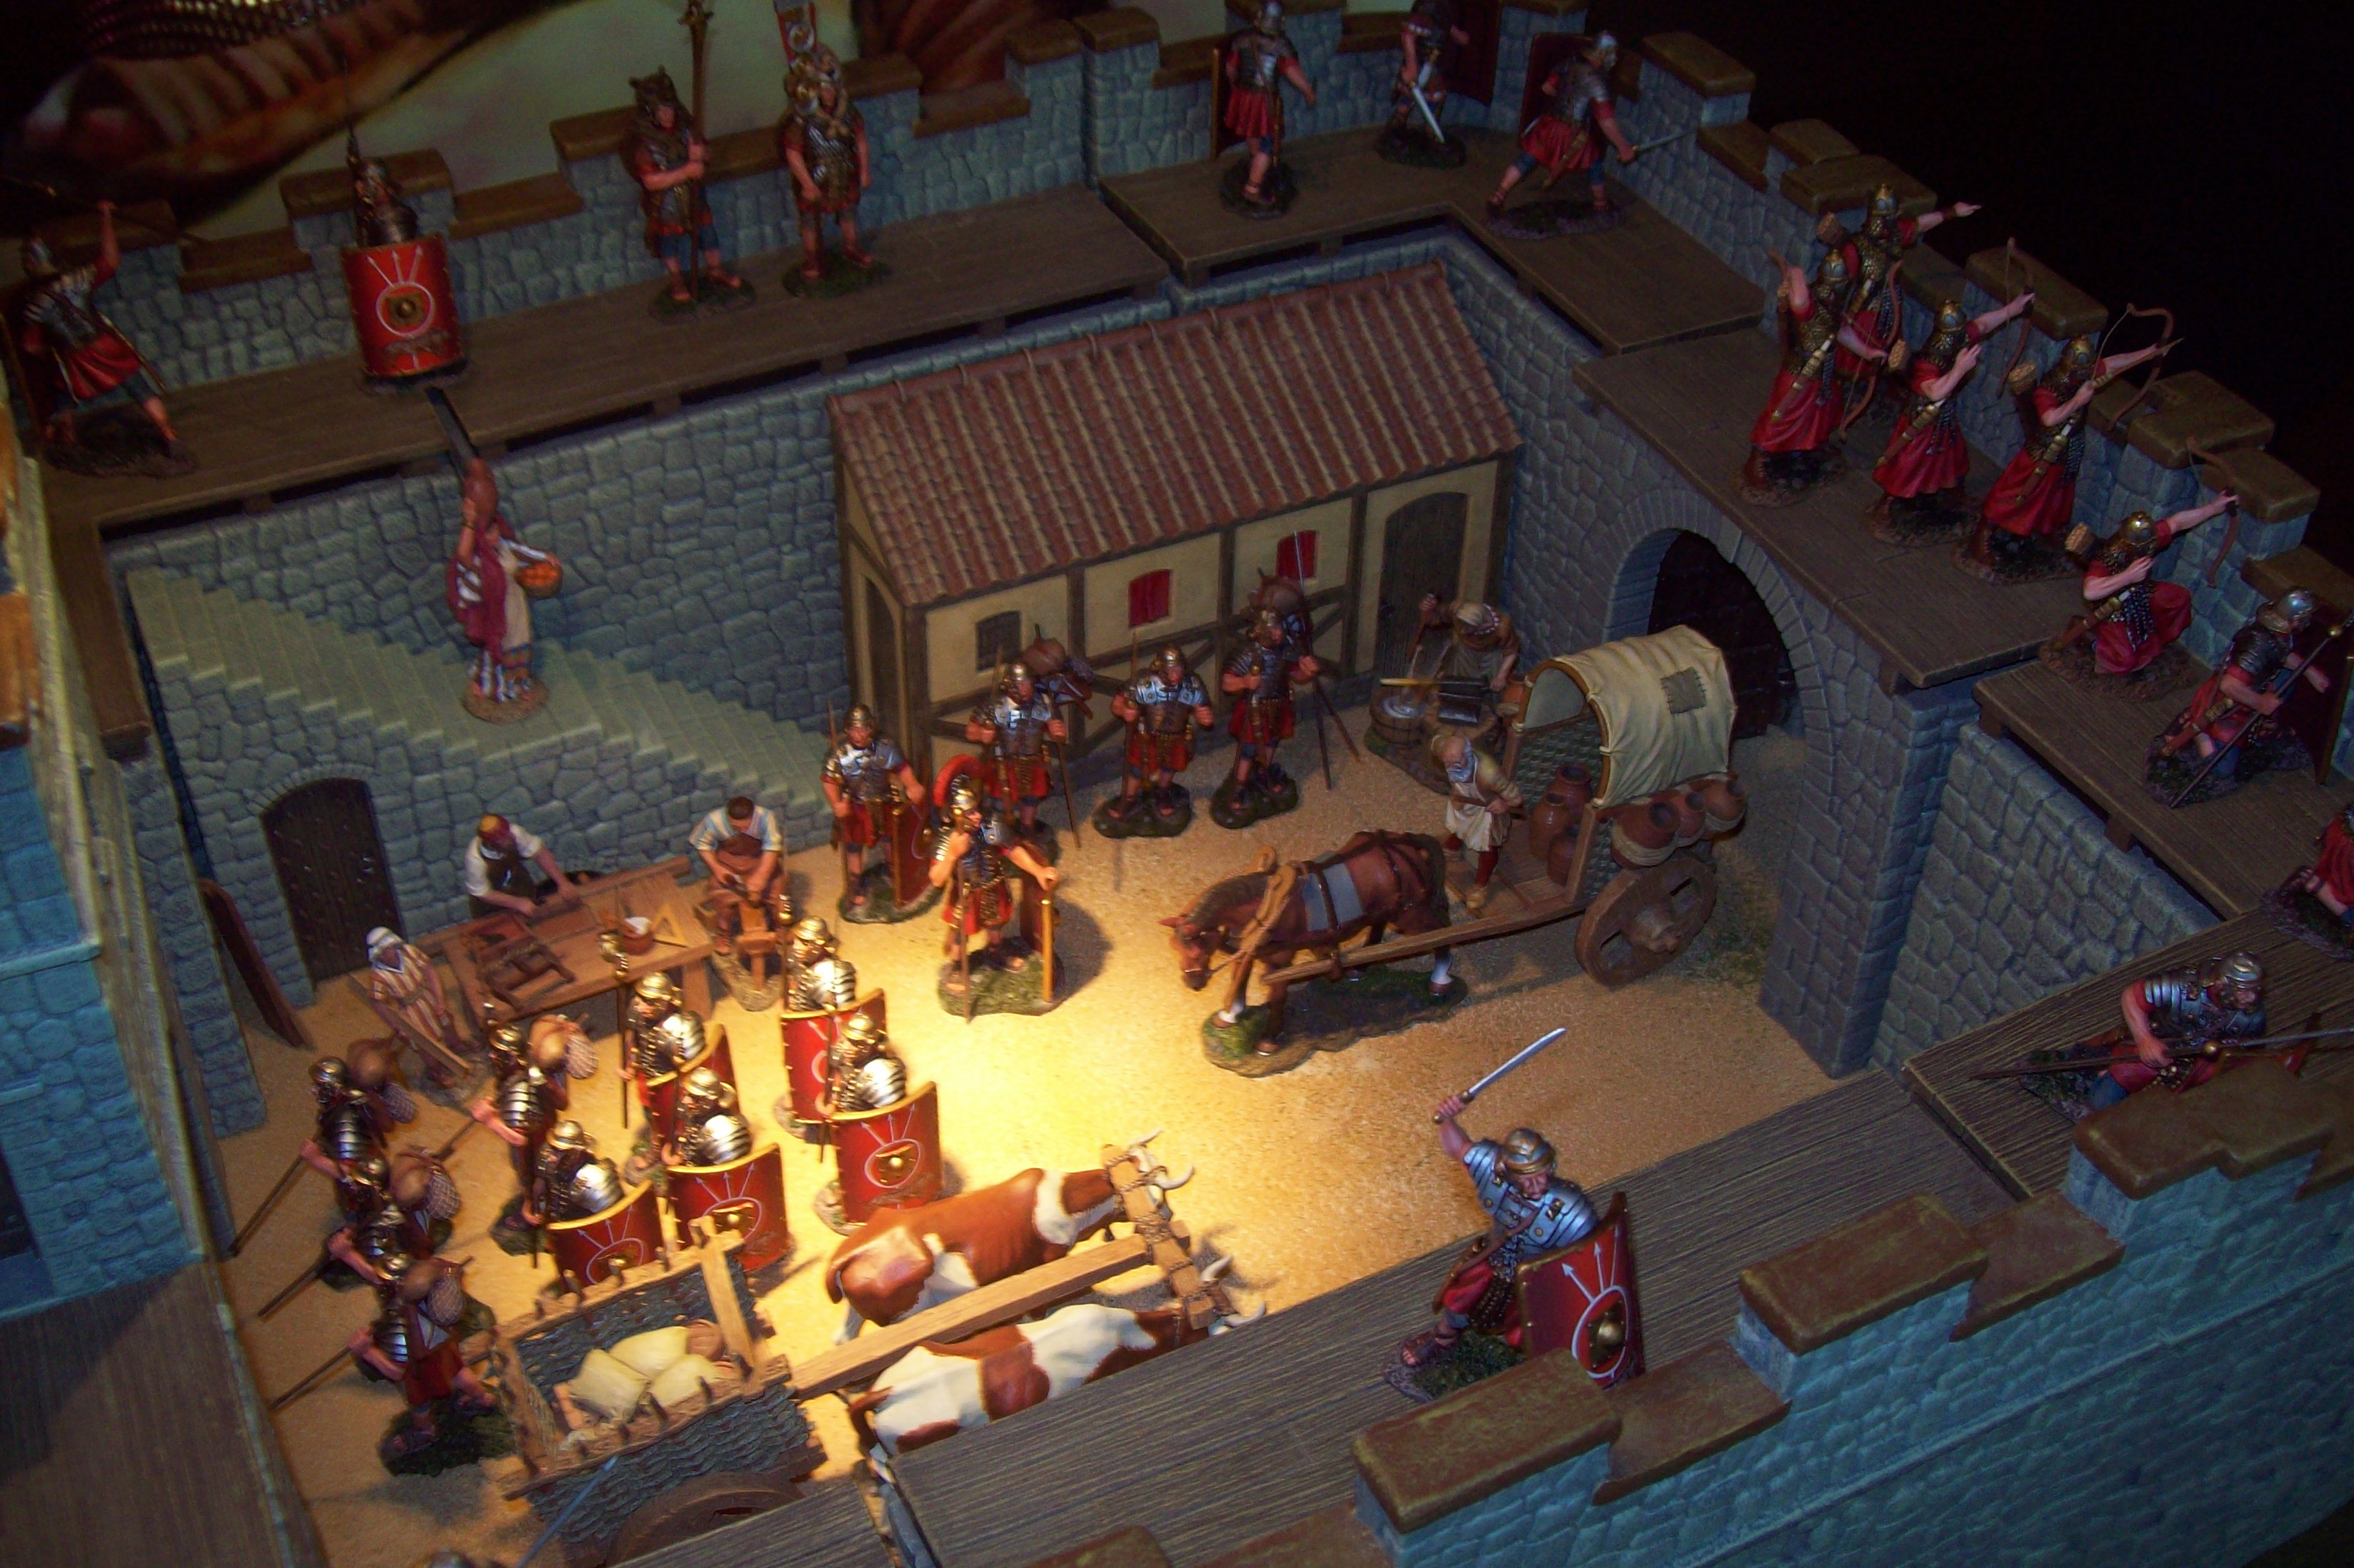
A Roman fort interior


An Elastolin Castle with another castle in the back.


Chicago Toy Soldier Show Photos 2017 Mike Mullins Mike has sent us photos which are mostly of metal displays. Still they are very interesting.
A Roman fort interior
An Elastolin Castle with another castle in the back.
This site uses Akismet to reduce spam. Learn how your comment data is processed.
Nice conversions of the Mars VC!
Does anyone know how they made or got the “straw coolie hats” on the Mars VC?
Just a guess but judging from the flag bearer pose I’d say the starting point was a washer, metal or plastic, with a modelling putty top.
I’ve seen this type of conversion done before and it looks very effective.
My good friend Ed has called me a traitor, as I sent mostly pictures of metal. I’m a plastics guy, but I was fascinated by the beautiful figures and dioramas at the show. This was my first show to attend. I’ve seen lots of pics of older, vintage items and boxes. But these are the items that caught my eye. So…. these are the things I took pictures of. Lots of inspiration here for convertors, painters, and diorama- makers. Mike
Mike I do not think you are a traitor. You were having your magical moment. The metal displays are fantastic. I enjoy seeing them. I just can not justify or afford the price of the metal figures.
The dark side, tsk ,tsk. That’s how you get seduced to the dark side, by colorful bobbles and trinkets. Almost brings a tear to my eye. Before you know it you’ll find yourself shopping for King and Country figures. Oh woe is me.
Benedict Mullins.
LOL Ed, you are too funny! I’d have to stop trading with you and Mike if I switched to metal. Okay, do one of your secret spells, get me out of this mess. I repent! Please tell me it’s not too late!
It’s too late. Nothing can be done. The end is here.
It’s never to late to turn your back on the devil metal. Say five hail Marx’s and three our Barzso’s, and you should be fine.
LoL! That was great, Saint Edward of Chicago.
So true, after I left my grammar school they changed the name to St Edward’s. Not really but it sounds good, it was always St Edward’s.
Does anyone know how they made or got the “straw coolie hats” on the Mars VC?
They look like blobs of putty to me. Probably “Green Stuff” which is what figure sculptors use to create master figures.
You can use air hardening clay or plumbers putty to do the same thing.
I’m gonna guess that you can go to Micheal’s and find a baking or candy mold that would be perfect for a coolie hat. Remember you don’t need to fill them up completely. Just the tip of a mold could work.
I can list instructions and items needed, if you wish
Okay…. I did it. I feel much better now. Wow, for a little while, I was lost!! I’m so glad I have a friend like you!!
I didn’t know how I was gonna pay those prices for metal stuff, anyway. My kids are way too old to sell into servitude. I can see I was headed for a life of misery.
Just another day of the good work, glad you are saved.
I made coolie hats using decorative upholstery tacks as a base and added a blob of Goop glue on top of it. If I had done it enough times it would have been good every time, but as it was, I only needed about 8 and I’d say the last 4 were good, the others were passable. I’m sure somebody could work this out better than me. The tacks give you a good, solid base and it has a pin (you’ll have to cut it shorter, of course) to insert it into the head. Squeezing the glue out on it is best done quickly so it makes a point. I just smoothed the sides out a bit with my fingers to blend it. Even if you mess it up 5 times, you’ve spent virtually nothing and can easily wipe it off and try again. Just thoughts for others to explore.