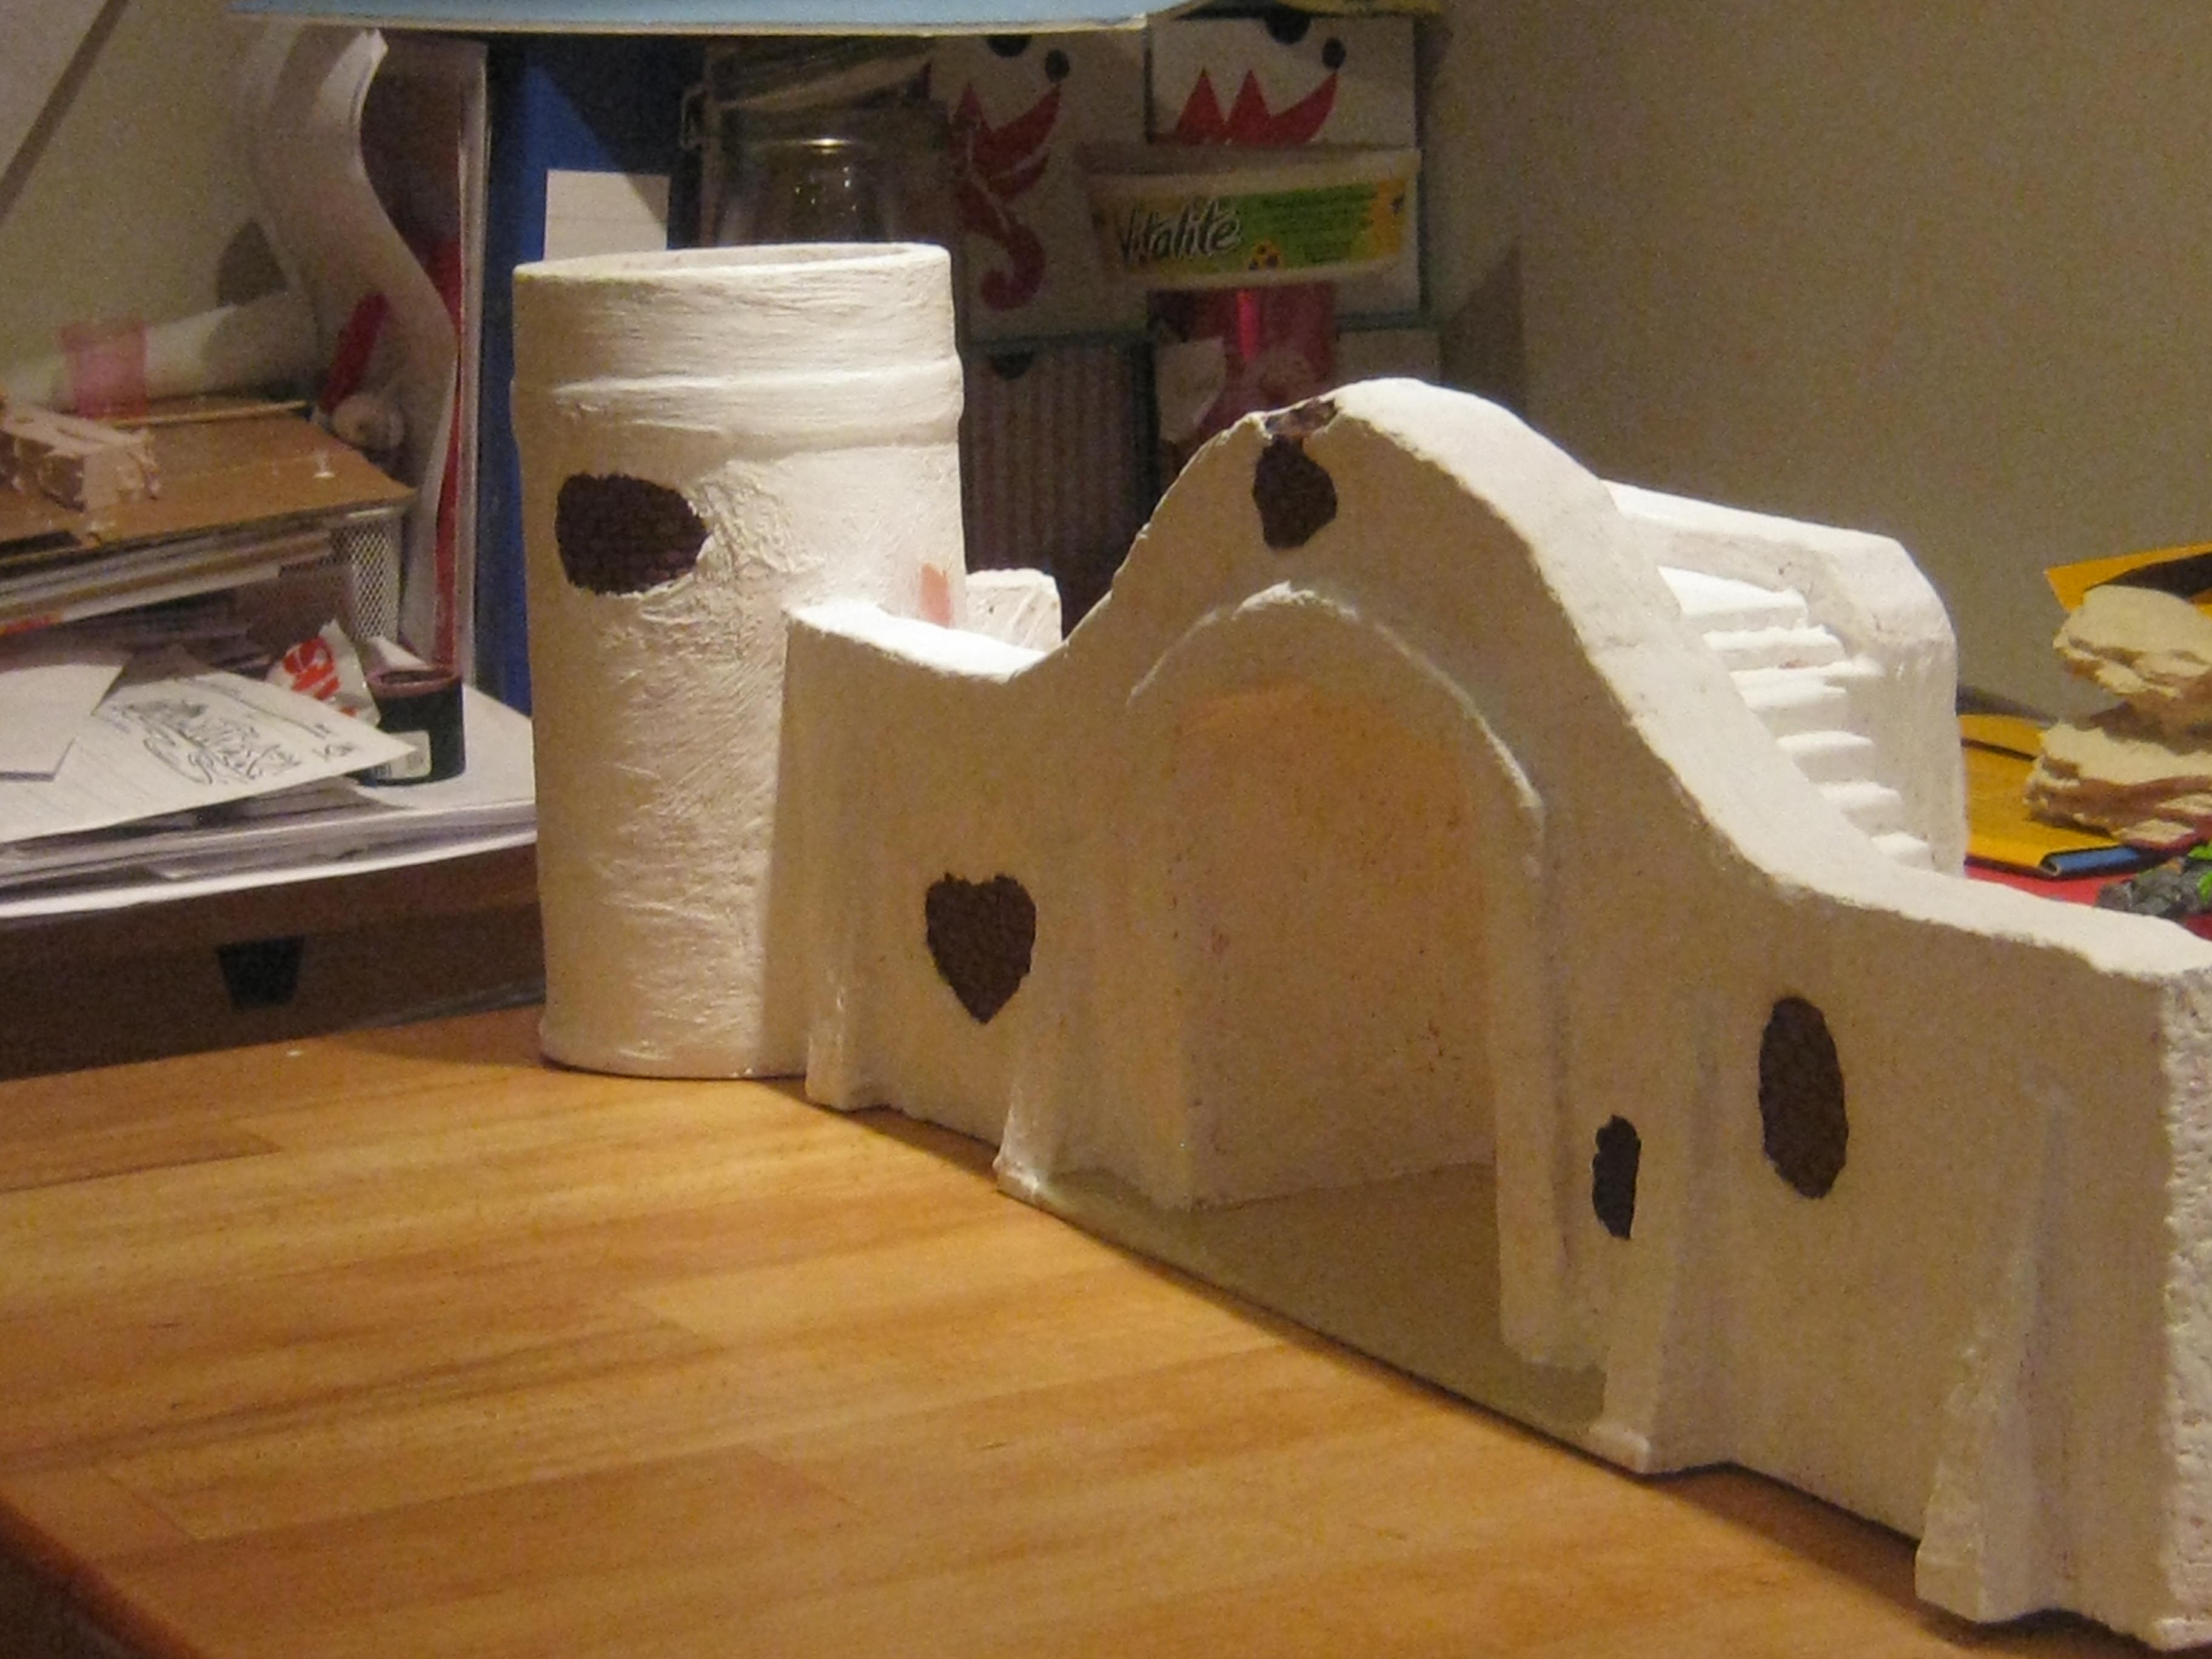
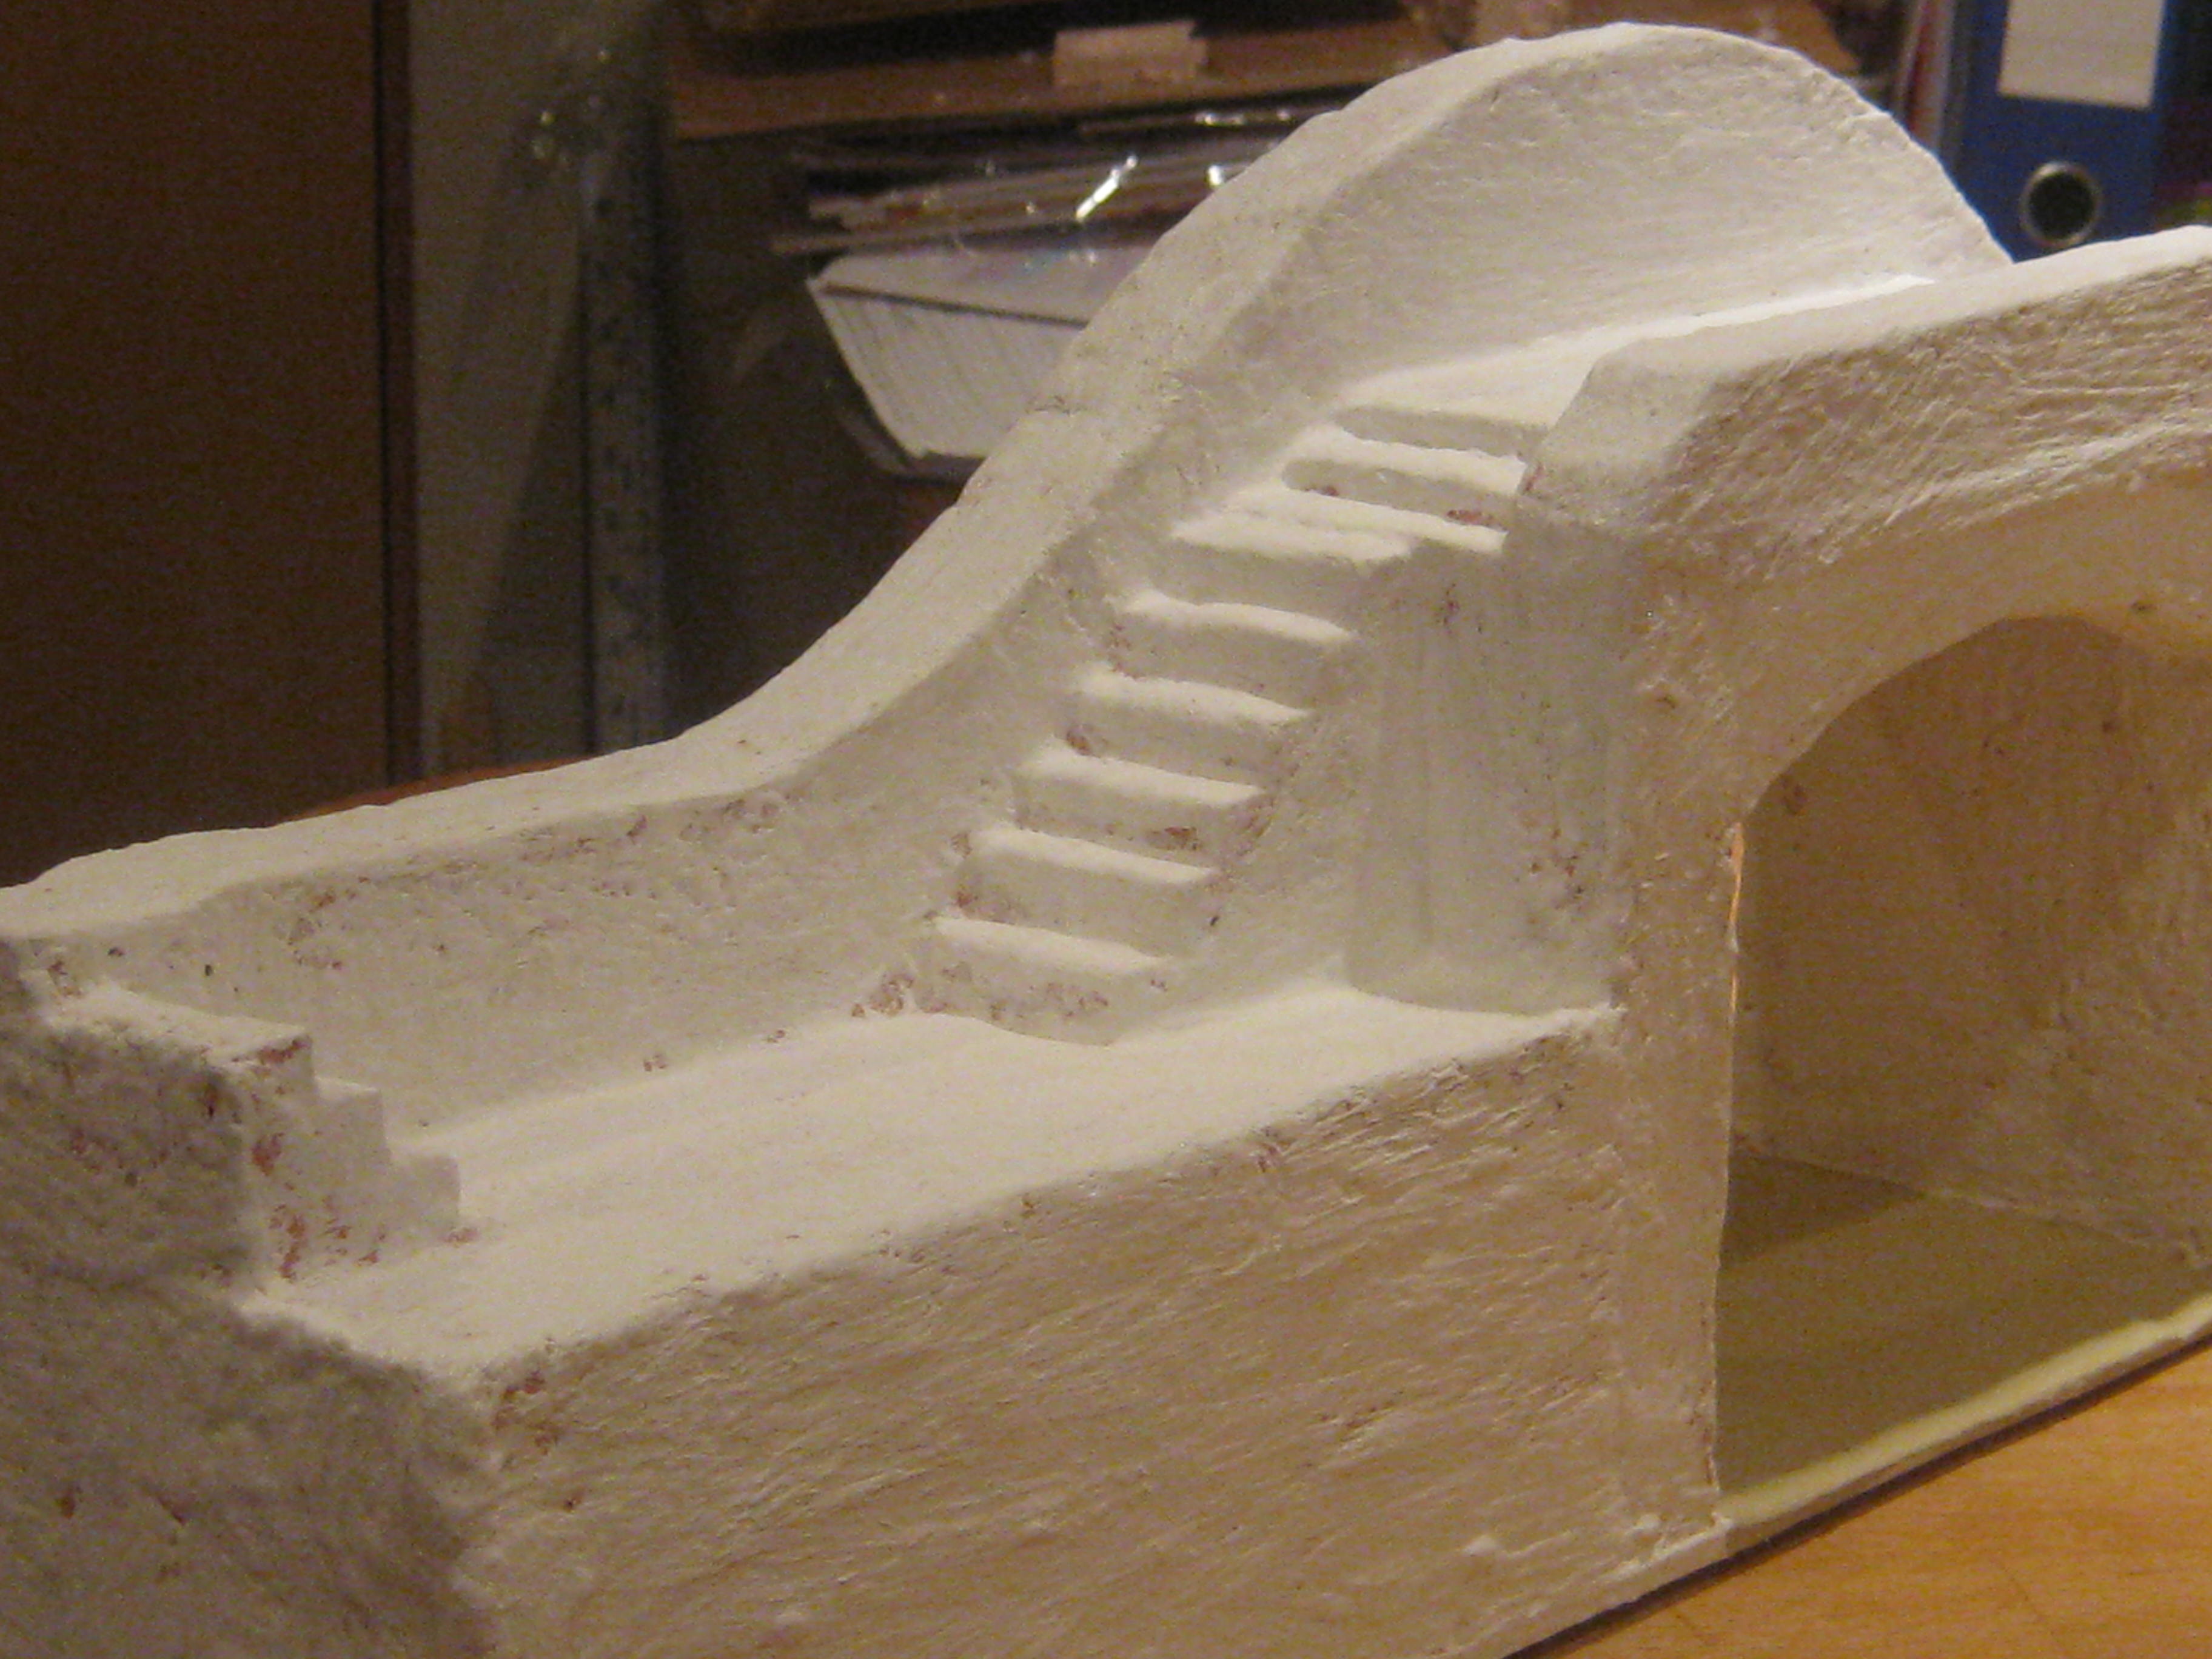
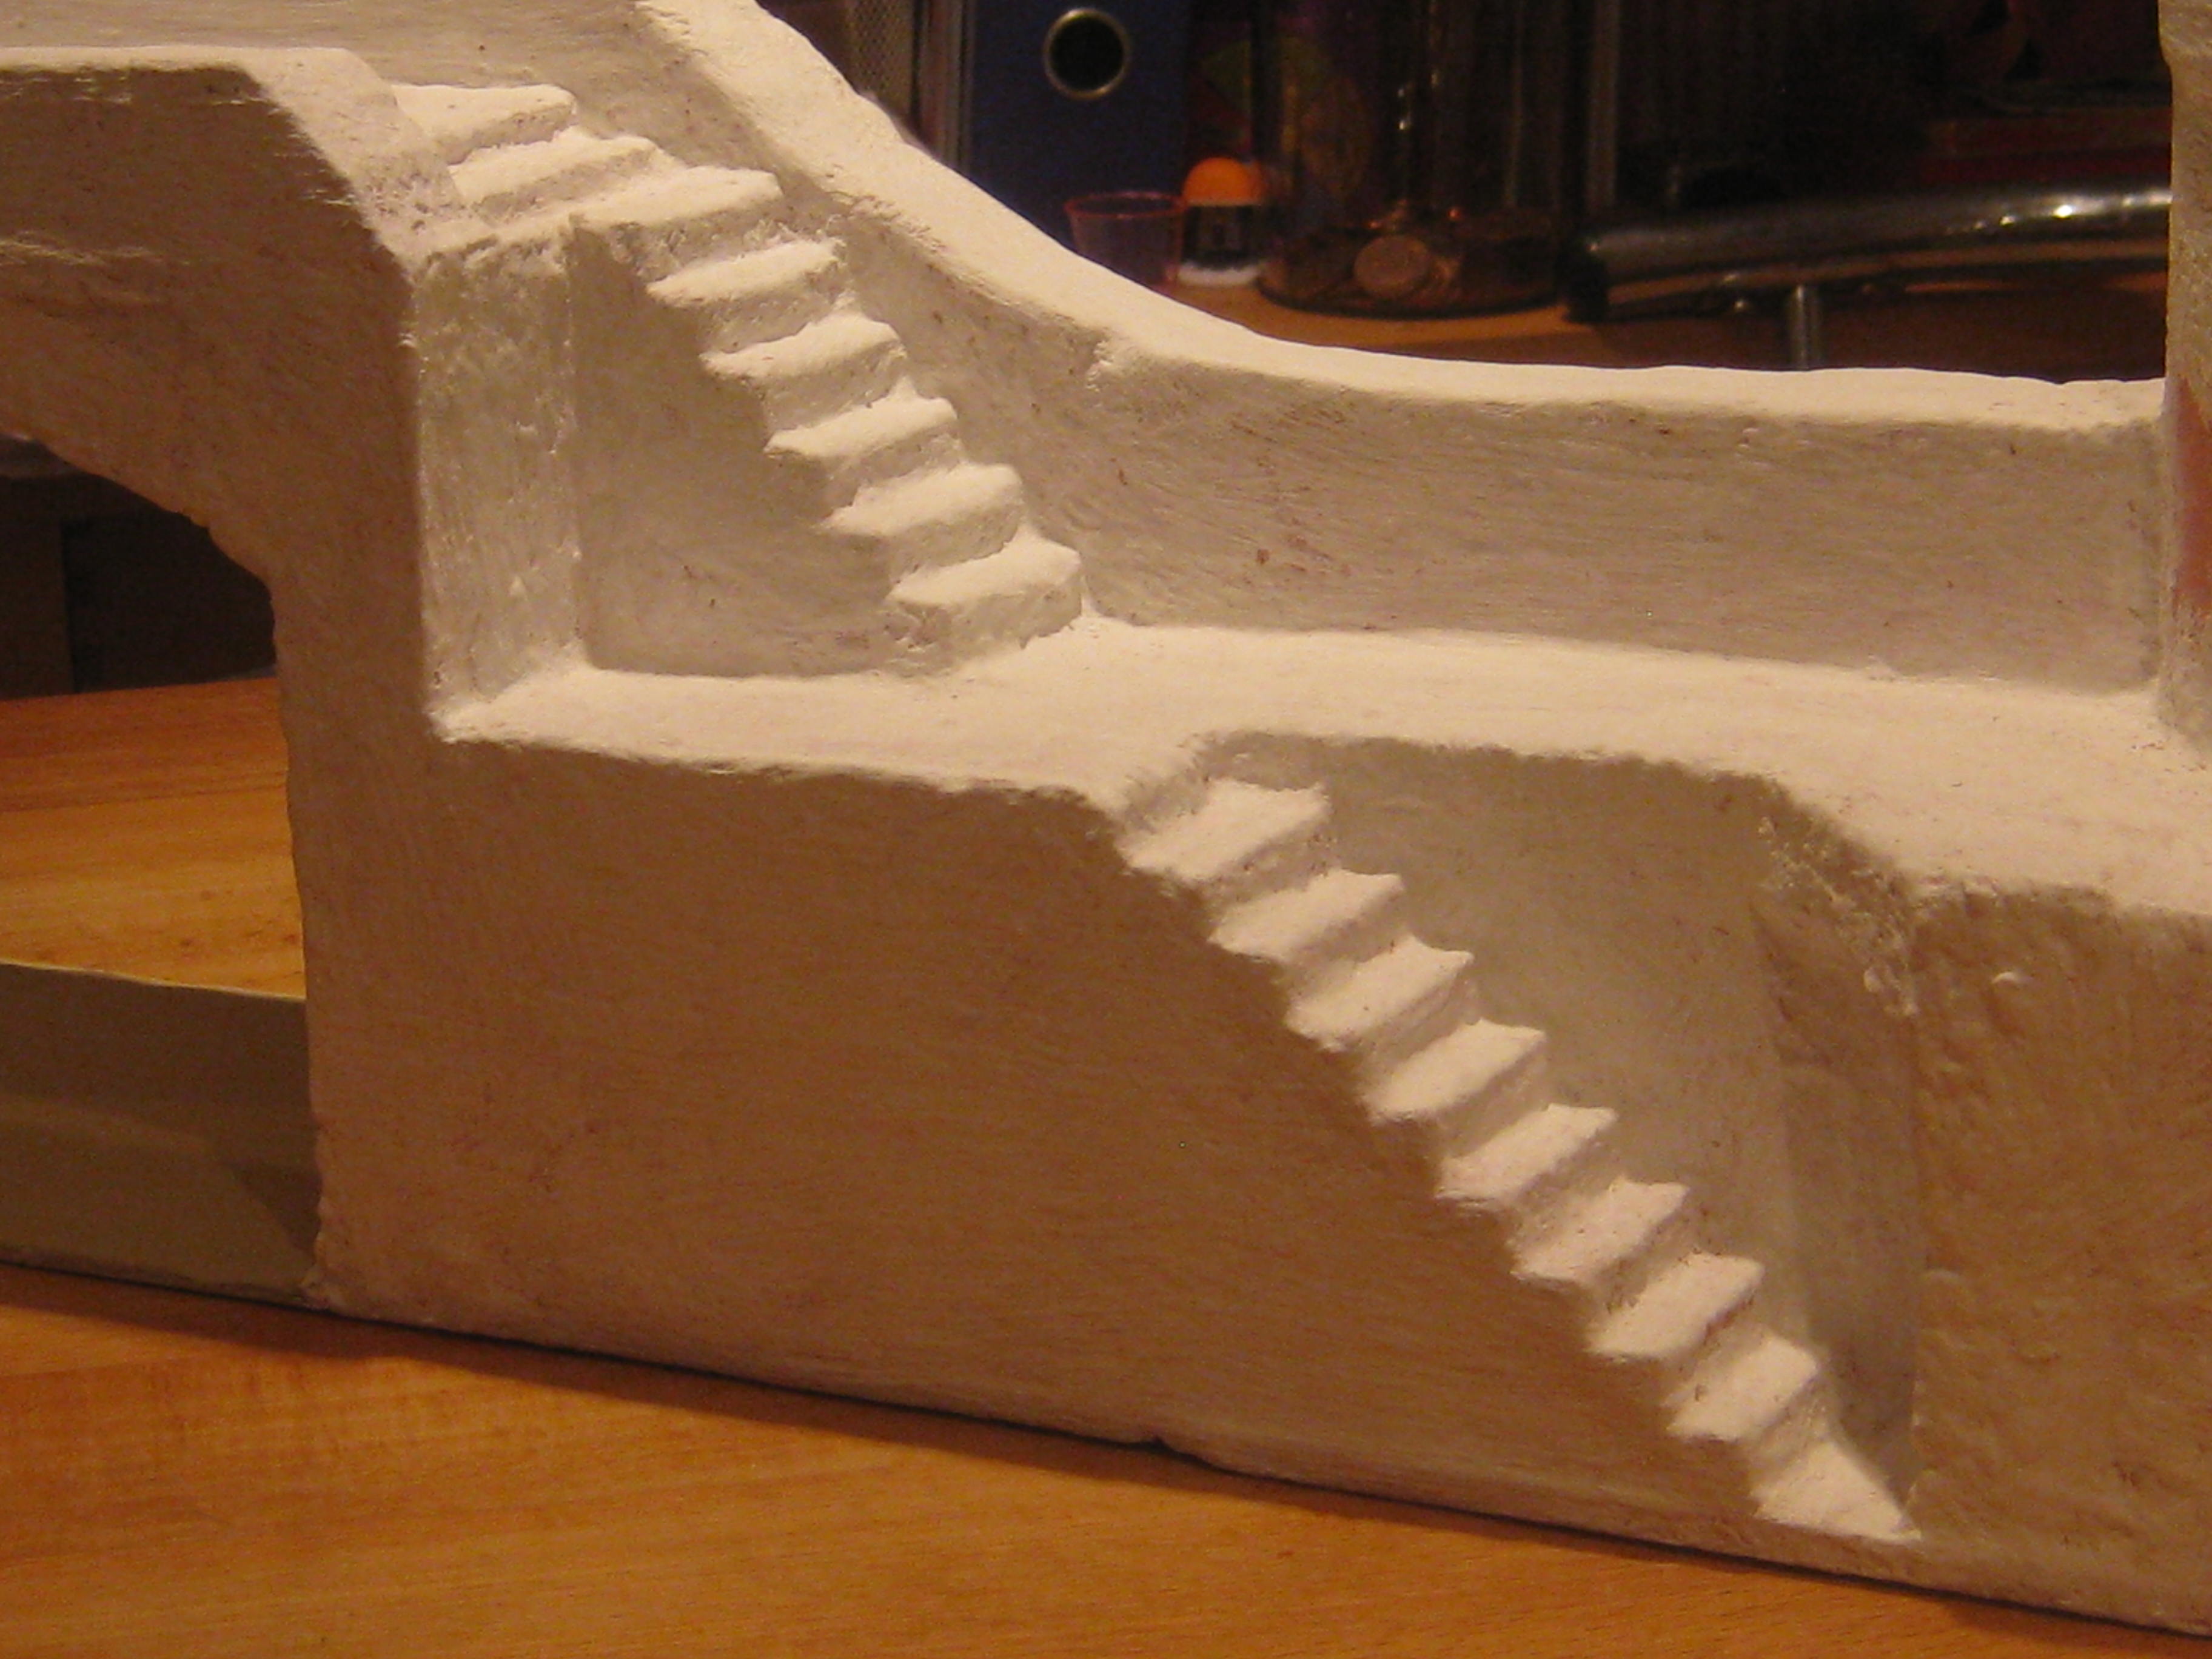
Brian McIver sent me the following email.
I am building this fortifies Hacienda for a friend in Barcelona, Spain (It will be in 4 sections for shipping reasons) He has also asked me to make/paint some
“Generic” Mexican militia type figures to garrison it. wonder if you could post this to get some opinions from the members? The 1st figure pose is
An AIP Egyptian that I bought to convert to Mexican (which I have done in photo7&8) also messed about with A BMC civil war figure (of which I have
hundreds) any thoughts would be welcome.

Brian used the AIP Egyptian standing firing for his Mexican. you can see his conversion in the next photo.


Brian is also using BMC. He plans to change rifles for Muskets

Very nice work
Nice job Brian ,like to see after it is painted ( if you plan on painting it ) !
May I ask what material you are using?
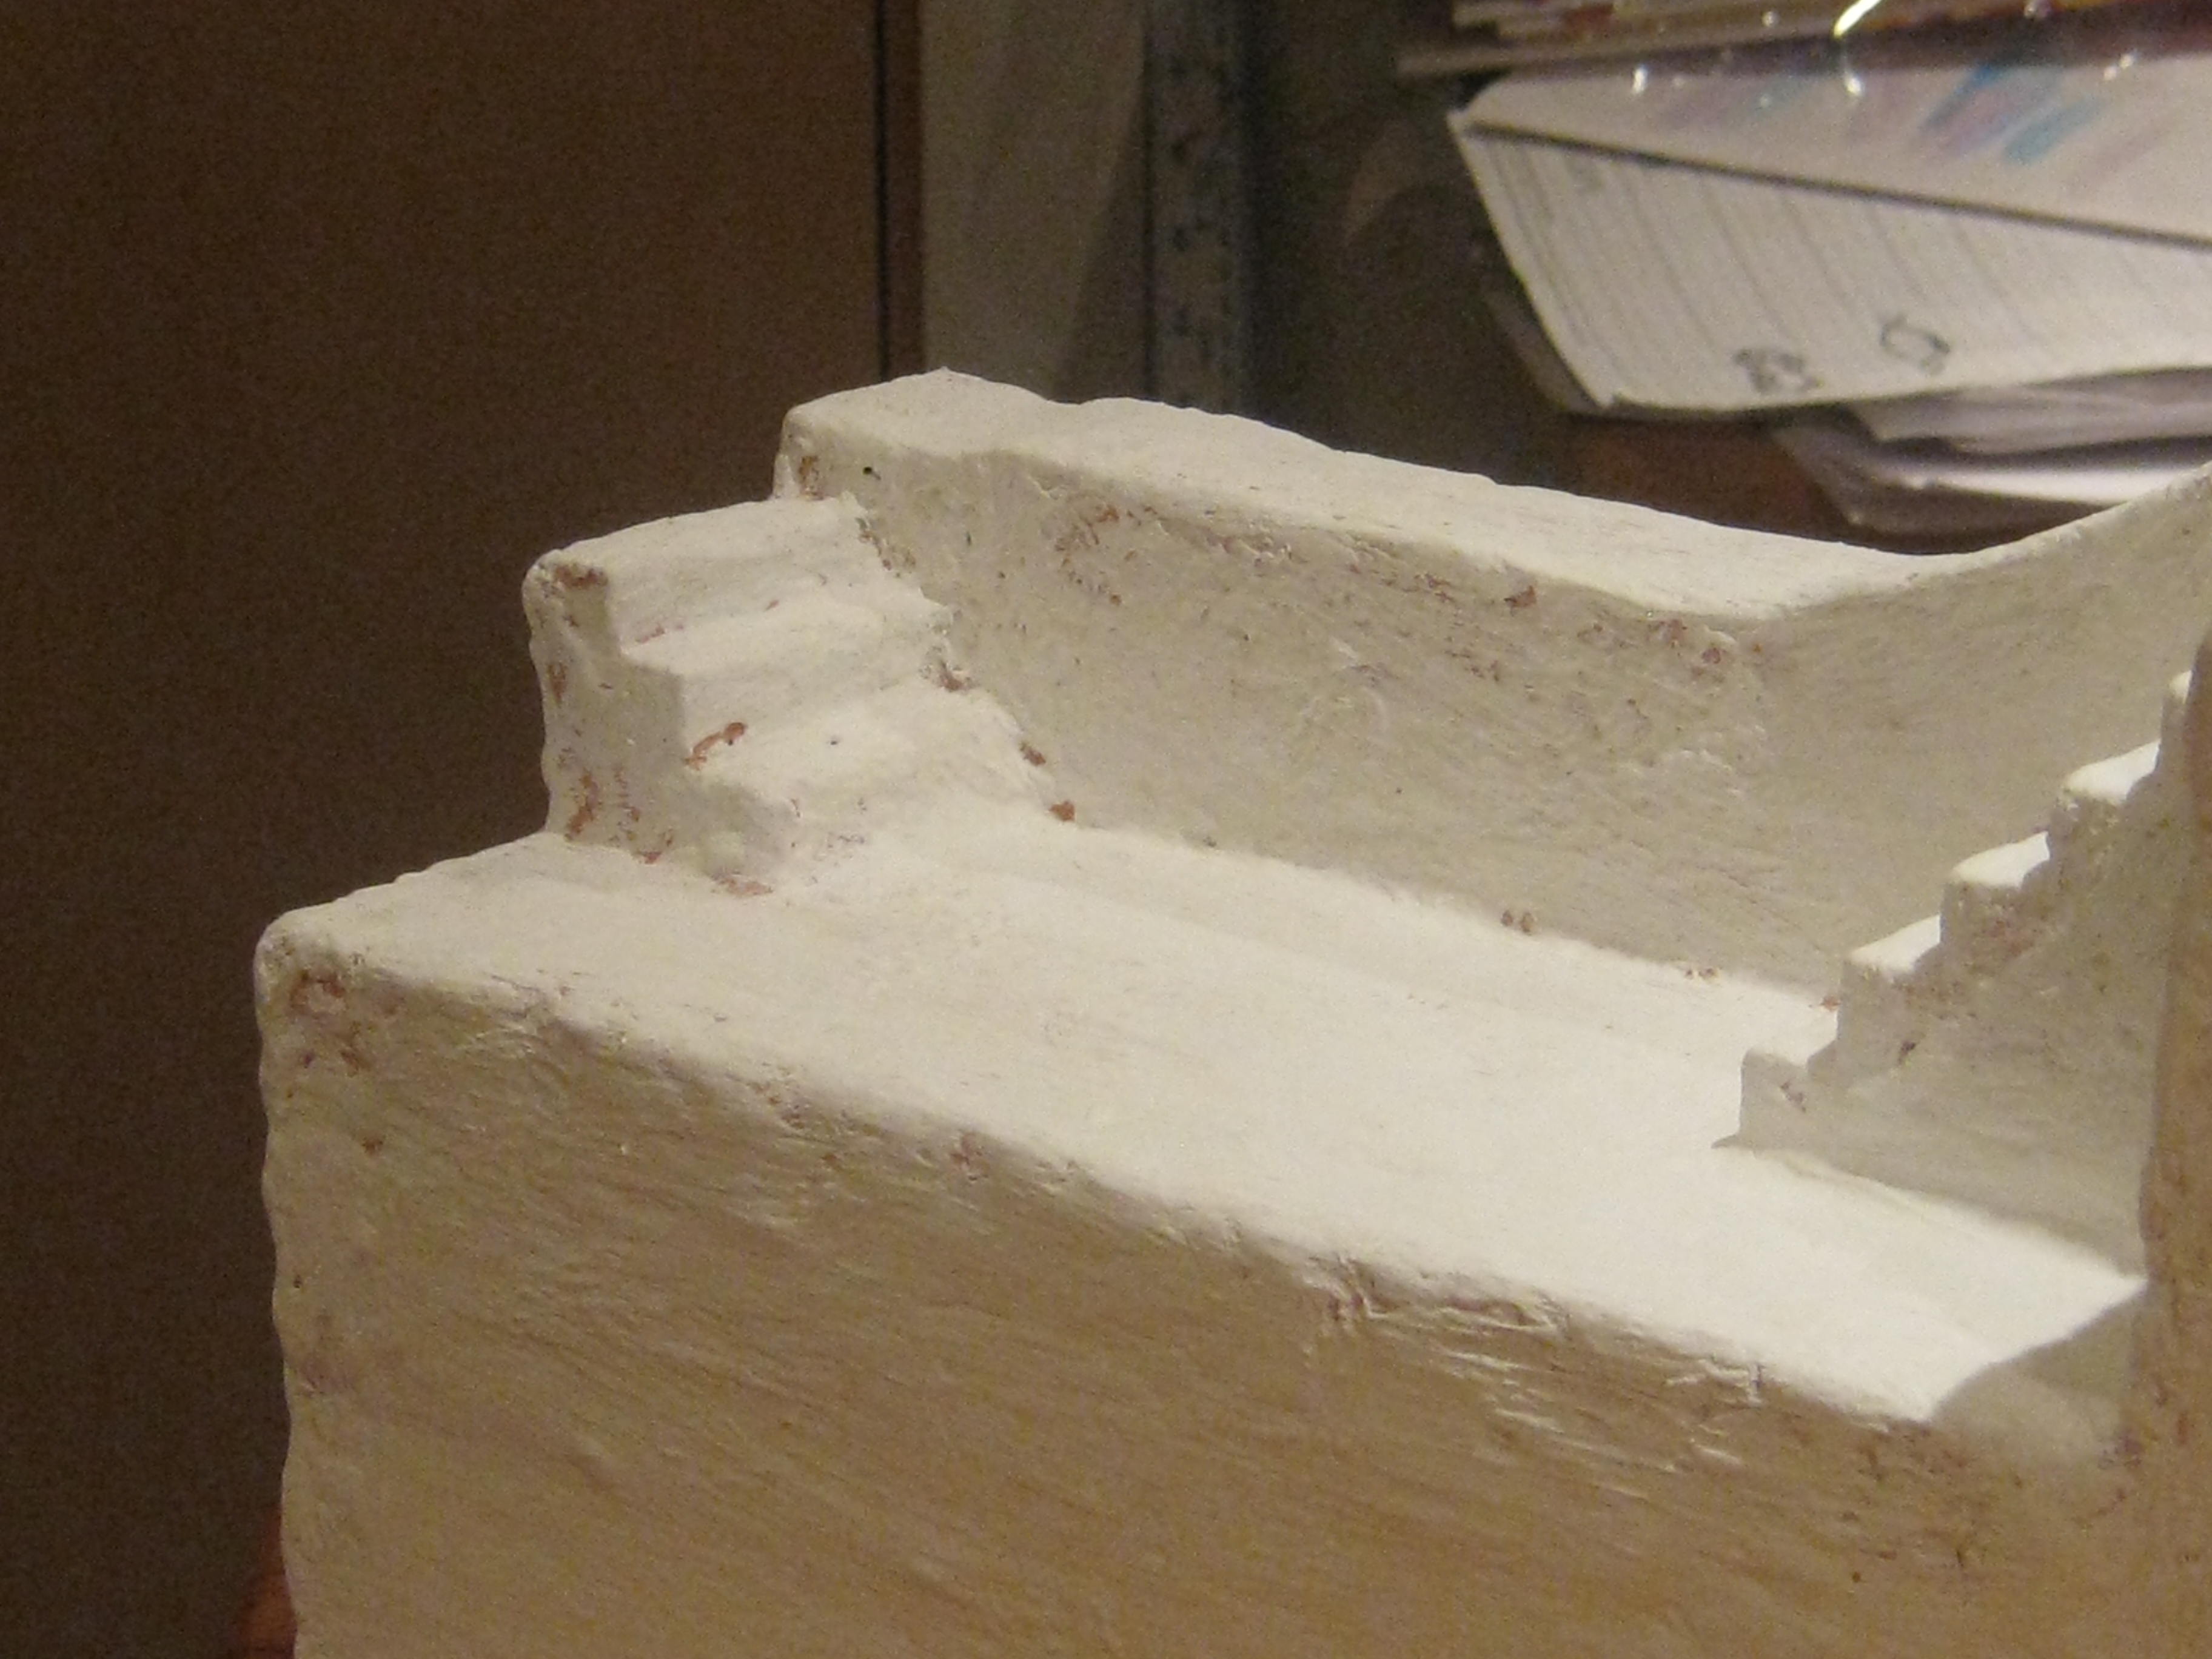
I am using white polystyrene (like they pack around new tv’s, fridges etc) you can buy sheets of it real cheap & it keeps the weight down for shipping. Then I paint it with PGA glue. Then coat if with tetrion household filler (I think it’s like spackle you use over there in the U.S.) the steps I made a master, then made a mold and cast them in resin as I knew I would need loads and it is a real pain cutting them.
Question: How you chance the musket, with the hands from other figures or with out the hands!?
I always use muskets from Barzso or TSSD (loose accessories) so there are no hands attached. I cut the original weapon (usually a poor sculpt) but always leave the stock and trigger guard from original (even on bad sculpts these are usually ok). Then I cut the weapon away from each side of the left hand which is extended to support it. Then drill through the hand where the weapon has been so there is space for new one. Then gently cut the top of the hand so you can push the the new weapon in place. You also have to trim off the stock and trigger guard from the doner weapon. I use a small mini drill (like a dremmil) and a scalpel (that would be an exacto to you chaps across the pond). I use super glue gel to fix them. All I can say is be real careful when using knife, drill (set it at low speed) and super glue (which I’m lead to believe was developed to stick skin together on wounded soldiers, that’s why it sticks your fingers together so good) the 1st figure I did was from the TSSD 1st set Rebs, the bald guy with shotgun. Cut the shotgun barrels away and replace with one of there muskets (fixed bayonet type) and you have a great figure “advancing into the hail” I will try and find one of mine and see if Paul will post it.
Sorry Erwin if this was a bit long winded, but hope it helps.
Brain McIver;not at all ,longer explanation are the best and clear.Awesome tip /job, will try that from now on, thank you so much!!!
Brian, thank you for both posts – never too long when filled with good info in my book. Thank you for sharing.
I’ve begun to venture into finally doing some conversions. Your idea of cutting off the weapon at the hand and trigger mechanism never occurred to me.
Wayne, I will try to find some photo’s that might
give you some tips or idea’s. What time frame are into as regards, figures?
I’m doing Alamo right now – really enjoy 18th-19th C as far as painting/conversions go, though enjoy playing with about everything.